
My Favourite Probiotic Ginger Ale Recipe
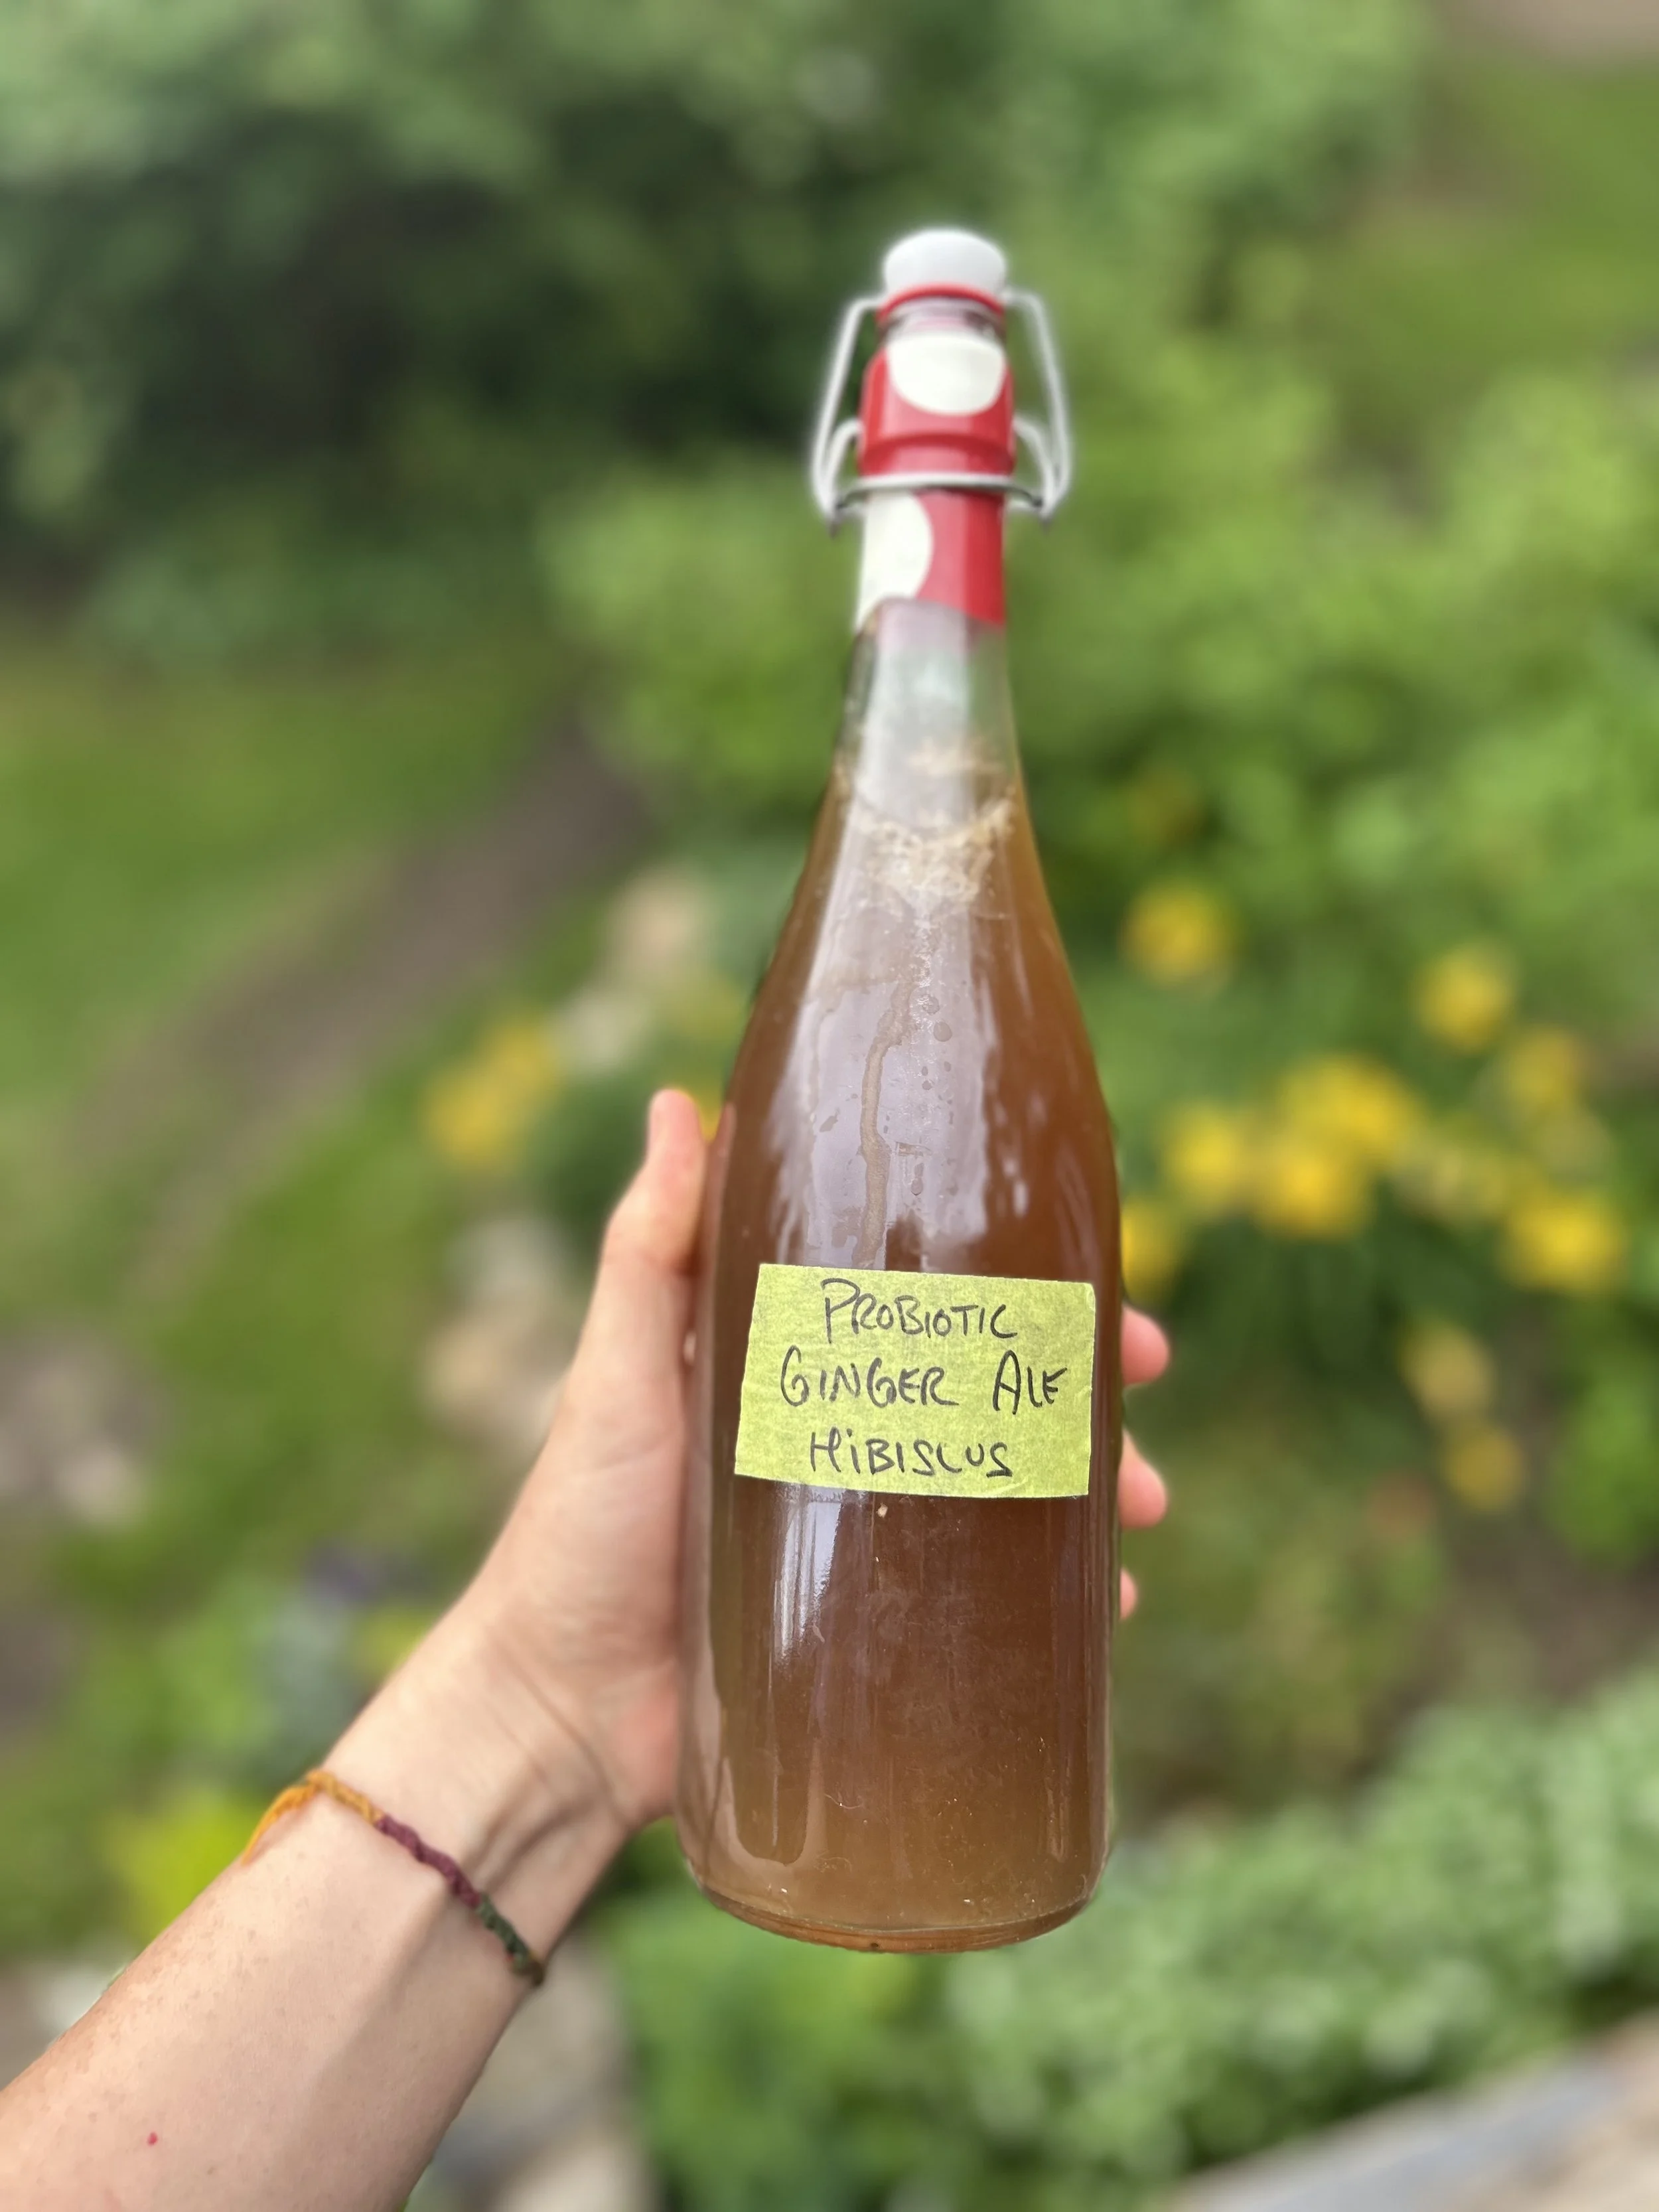
The Naturally Fermented Drink Even Picky Kids Love
If you’ve ever visited Secret Sanctuary, you know that we are big believers in simple skills that make everyday life better.
One of those skills is fermentation.
For most of my life, I struggled with chronic stomach discomfort and digestive issues. Learning more about gut health and gradually introducing fermented foods into my diet was one of the most impactful changes I made for myself.
Today, fermented foods are a regular part of our family’s life, and I no longer experience the daily stomach issues that once felt normal to me.
I’ve experimented with kombucha, kefir grains, and all kinds of other fermented foods and drinks—but nothing has become a staple in our home quite like this naturally fermented ginger ale.
It is easy to maintain, endlessly customizable, and loved by almost everyone who tries it.
My kids love it. Their friends love it. The adults drink it on its own, use it in mocktails, or turn it into delicious homemade cocktails.
Whenever I make a batch for our community fridge, it rarely lasts more than a few days.
How I Discovered Fermented Ginger Ale
I was introduced to ginger bugs by a former member of our community, who taught me that ginger ale could be naturally fermented using a simple starter made from ginger, sugar, and water.
I was fascinated.
Until then, I had associated naturally fermented drinks mostly with kombucha and water kefir. I had no idea that I could create a bubbly ginger ale using ingredients I already kept in my kitchen.
I have now been making this recipe for over 2 years, and it has become my favourite fermented drink by far.
The basic process has three parts:
Create and maintain an active ginger bug.
Make a sweet, spiced ginger tea.
Combine them and allow the drink to ferment in bottles until naturally carbonated.
The result is bright, spicy, refreshing, and far more interesting than conventional ginger ale.
A Note About Home Fermentation
Home fermentation is a living process, so every batch can behave a little differently.
Always begin with clean hands, clean equipment, fresh ingredients, and bottles designed to withstand carbonation. Watch your ferment carefully, refrigerate it once it becomes fizzy, and open bottles slowly over a sink.
Discard the batch if it develops visible fuzzy mould, a rotten or unpleasant smell, an unusual colour, or anything else that concerns you.
This recipe shares the method that works in our home, but it is not a laboratory-tested commercial process. Use your own judgment and follow reputable food-safety guidance when preparing fermented foods and beverages.
Why We Love Ginger
Ginger has long been one of my favourite kitchen and herbal ingredients.
It has traditionally been used to support digestion and soothe occasional stomach upset, and I love the warming, invigorating quality it brings to food and drinks.
When ginger is paired with cardamom, black pepper, citrus, and natural fermentation, it becomes a true wellness powerhouse.
Step 1: Create Your Ginger Bug
A ginger bug is a naturally fermented starter culture that acts as the probiotic base for your ginger ale.
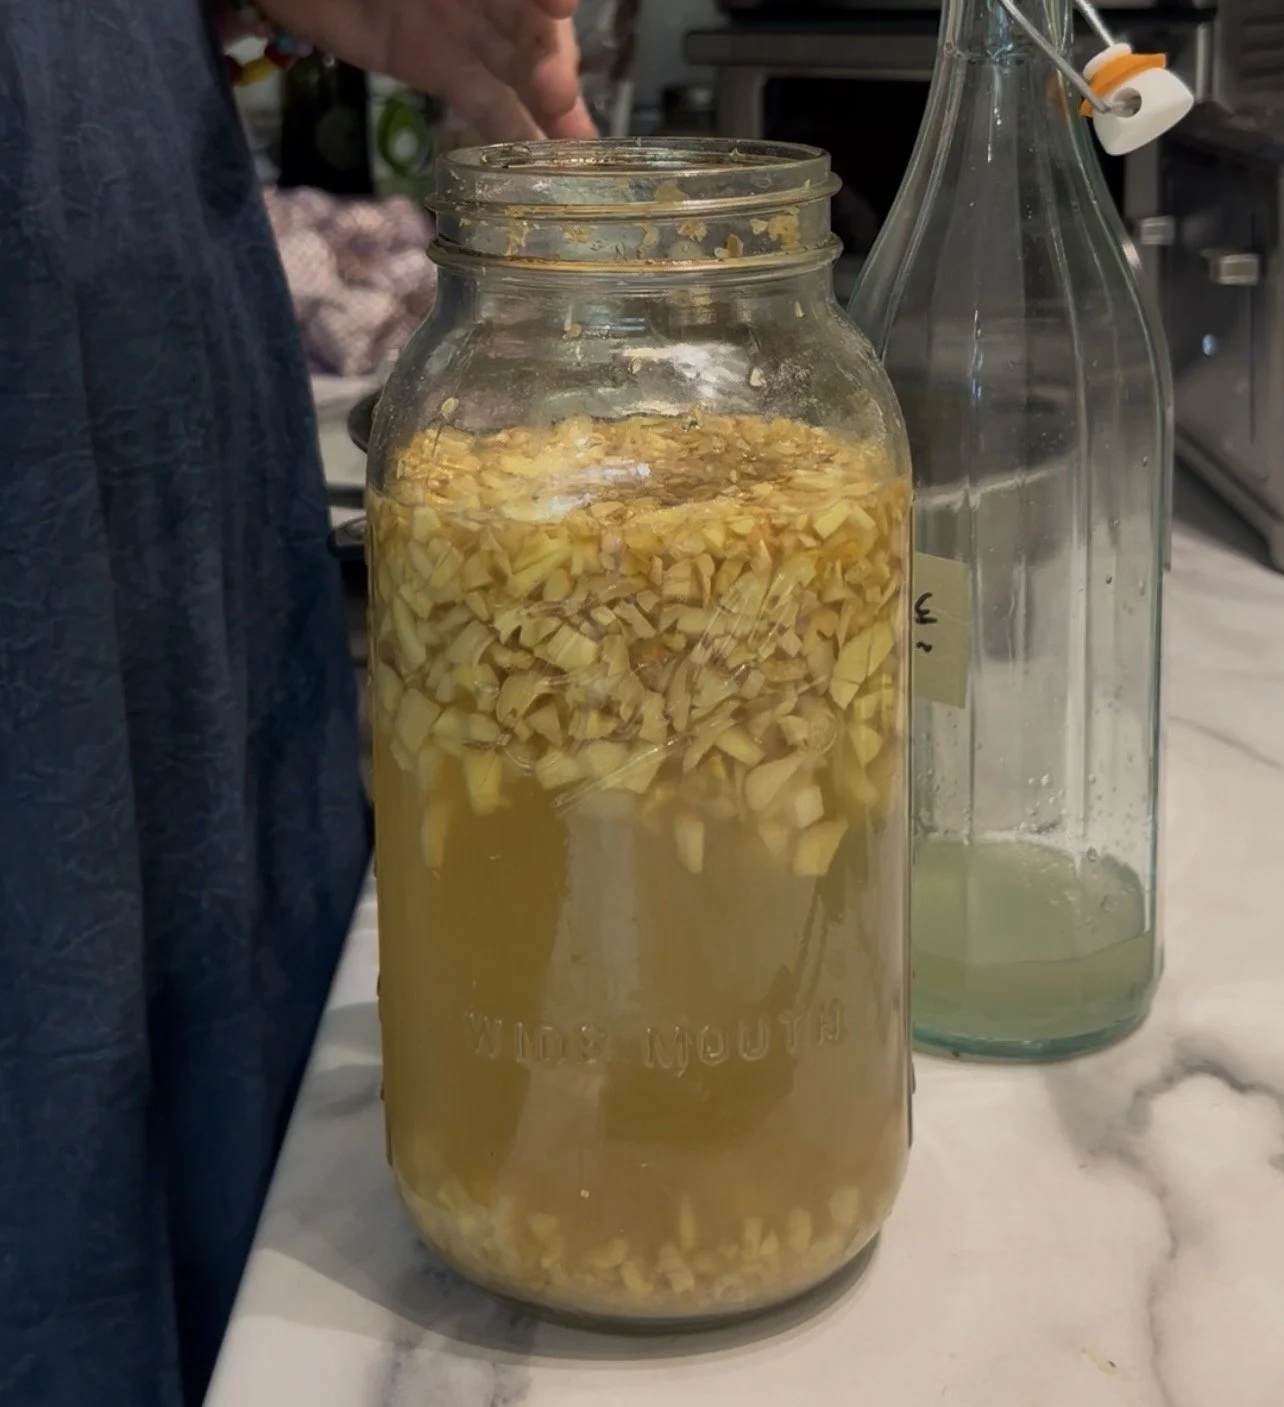
Ginger Bug Ingredients
4 cups filtered or non-chlorinated water
1 tablespoon finely chopped organic fresh ginger with the peels on
1 tablespoon cane sugar
Using organic ginger with the peels on is important, as the natural yeasts living on the skin help kick-start the fermentation process.
Place the water, ginger, and sugar in a clean glass jar and stir well.
Cover the jar with a breathable cloth or coffee filter secured with an elastic band, or use a fermenting nipple that allows gas to escape.
Keep the jar at room temperature and out of direct sunlight.
Daily Feeding
Each day add:
1 tablespoon cane sugar
1 tablespoon finely chopped fresh organic ginger with the peels on
Stir the mixture well after each feeding.
Within several days, you should begin to notice small bubbles, a light fizz, or activity when you stir it. It should smell pleasantly gingery, yeasty, and slightly fermented—not rotten or mouldy.
The exact amount of time will depend on the temperature of your kitchen and the activity of the natural yeasts.
Once the ginger bug is consistently bubbly and active, it is ready to use.
Maintaining an Established Ginger Bug
Continue feeding your ginger bug to keep it healthy and active. The cane sugar should be added daily. Once your ginger bug is well established, you can often reduce the fresh ginger additions to every few days or about twice per week while continuing to feed it sugar daily.
As your family starts drinking more ginger ale, feel free to increase the size of your ginger bug to keep up with demand. We currently maintain a much larger ginger bug because we typically make 5–8 litres at a time and can barely keep enough bottles in the fridge!
Taking a Break?
Our family makes ginger ale so frequently that we've never actually needed to do this, but if you're only making ginger ale occasionally, many fermentation enthusiasts store their active ginger bug in the refrigerator to slow down the fermentation process.
If refrigerated, most people feed their ginger bug about once per week and keep it in a sealed jar. When they're ready to make ginger ale again, they bring it back to room temperature and feed it for a day or two until it becomes bubbly and active again.
If you try this method, I'd love to hear how it works for you!
Step 2: Make the Ginger Ale Base
This is my basic spiced ginger tea. You can use it as written or customize it using the seasonal variations farther down in this post.
Ingredients
12 cups filtered or non-chlorinated water
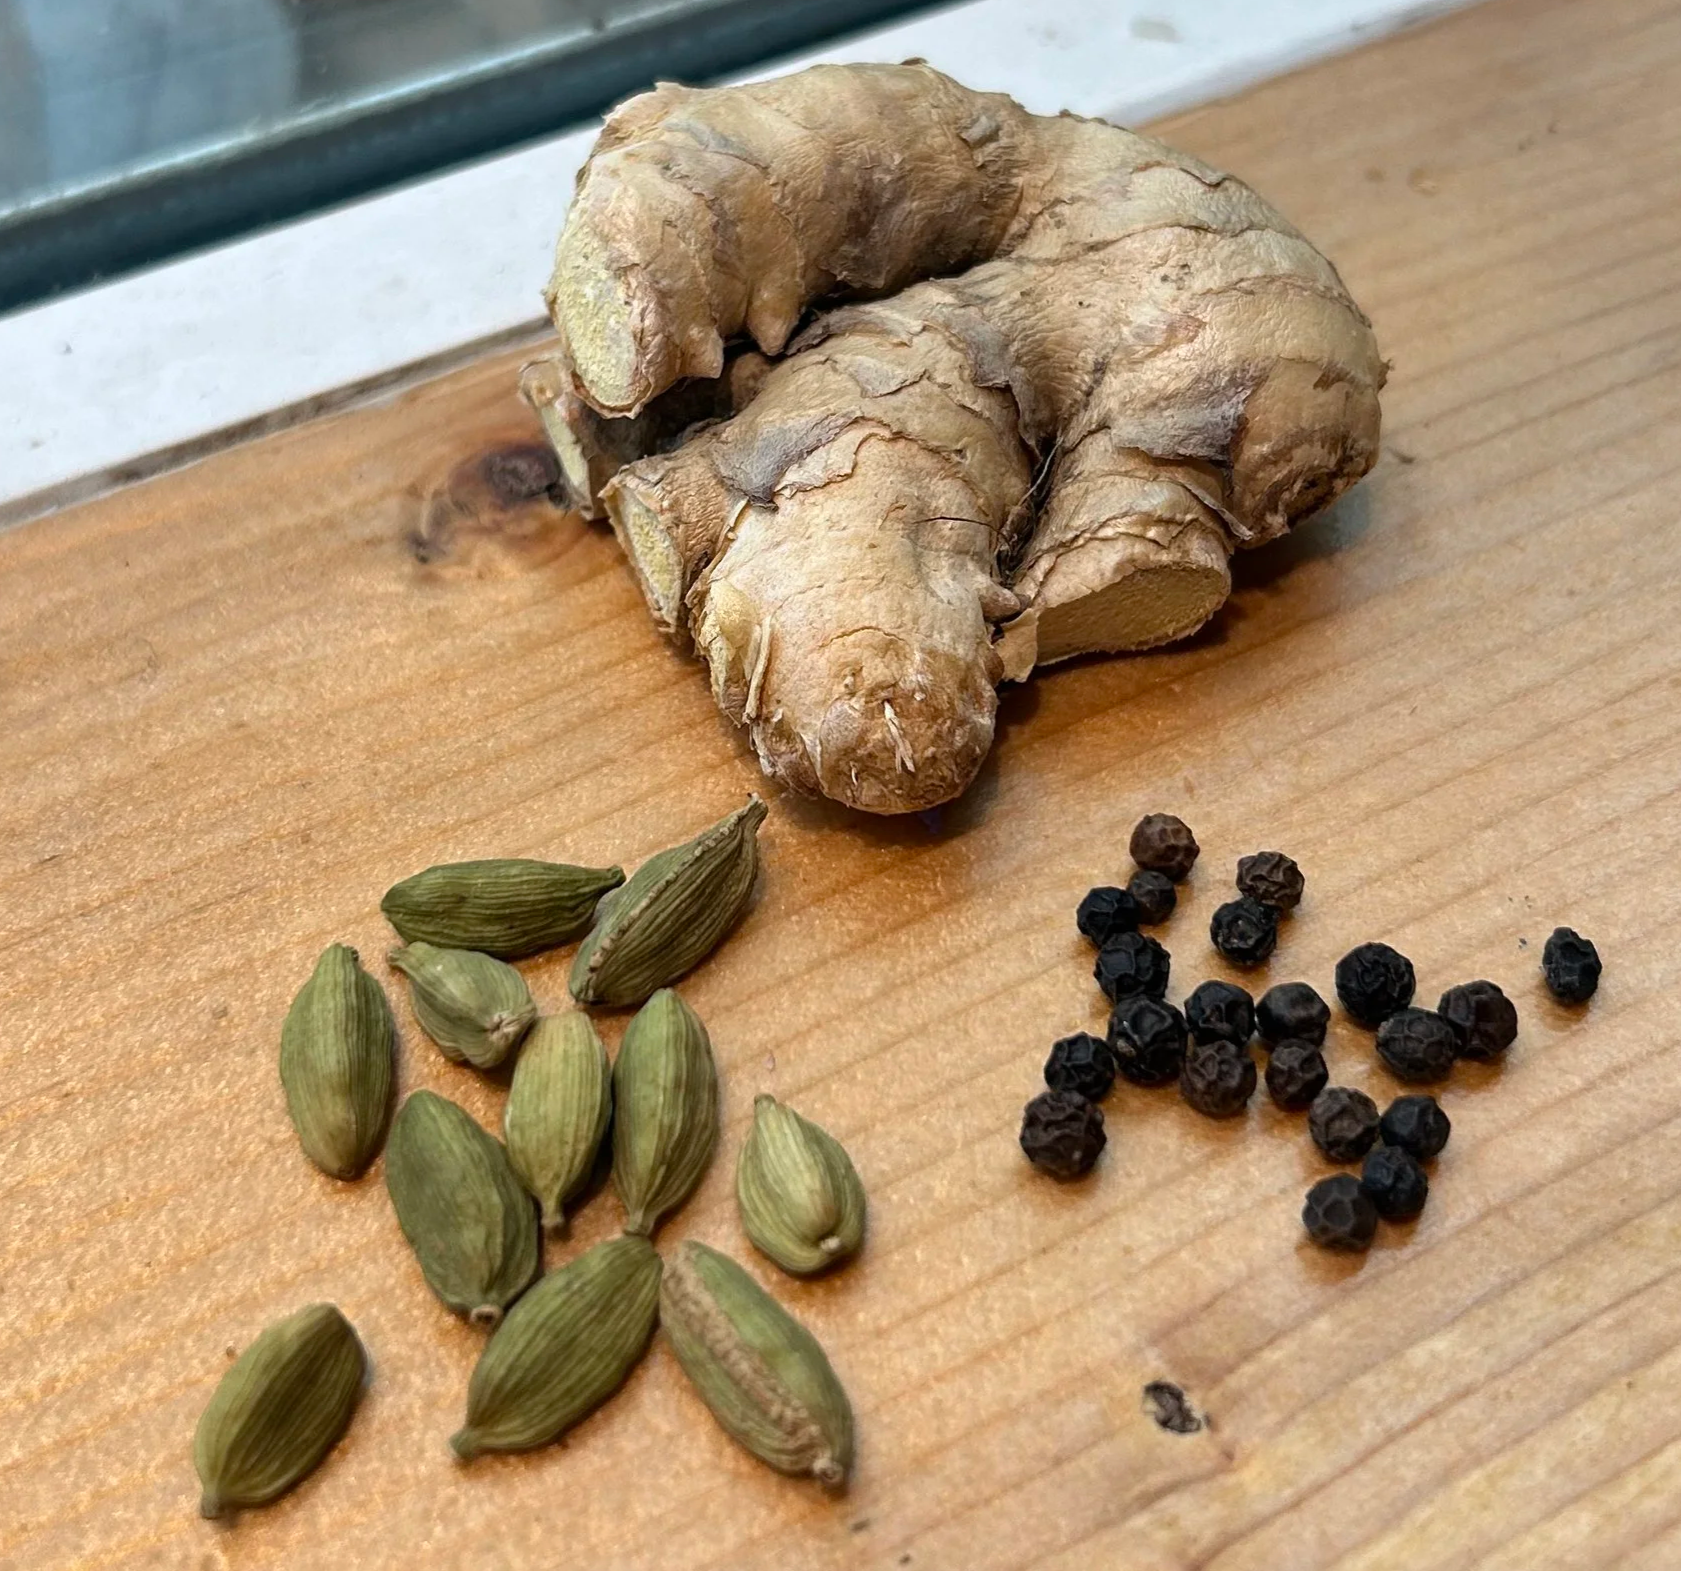
8 tablespoons coarsely chopped fresh ginger, or approximately one 4-inch piece
15–20 black peppercorns
10–12 cardamom pods, lightly crushed
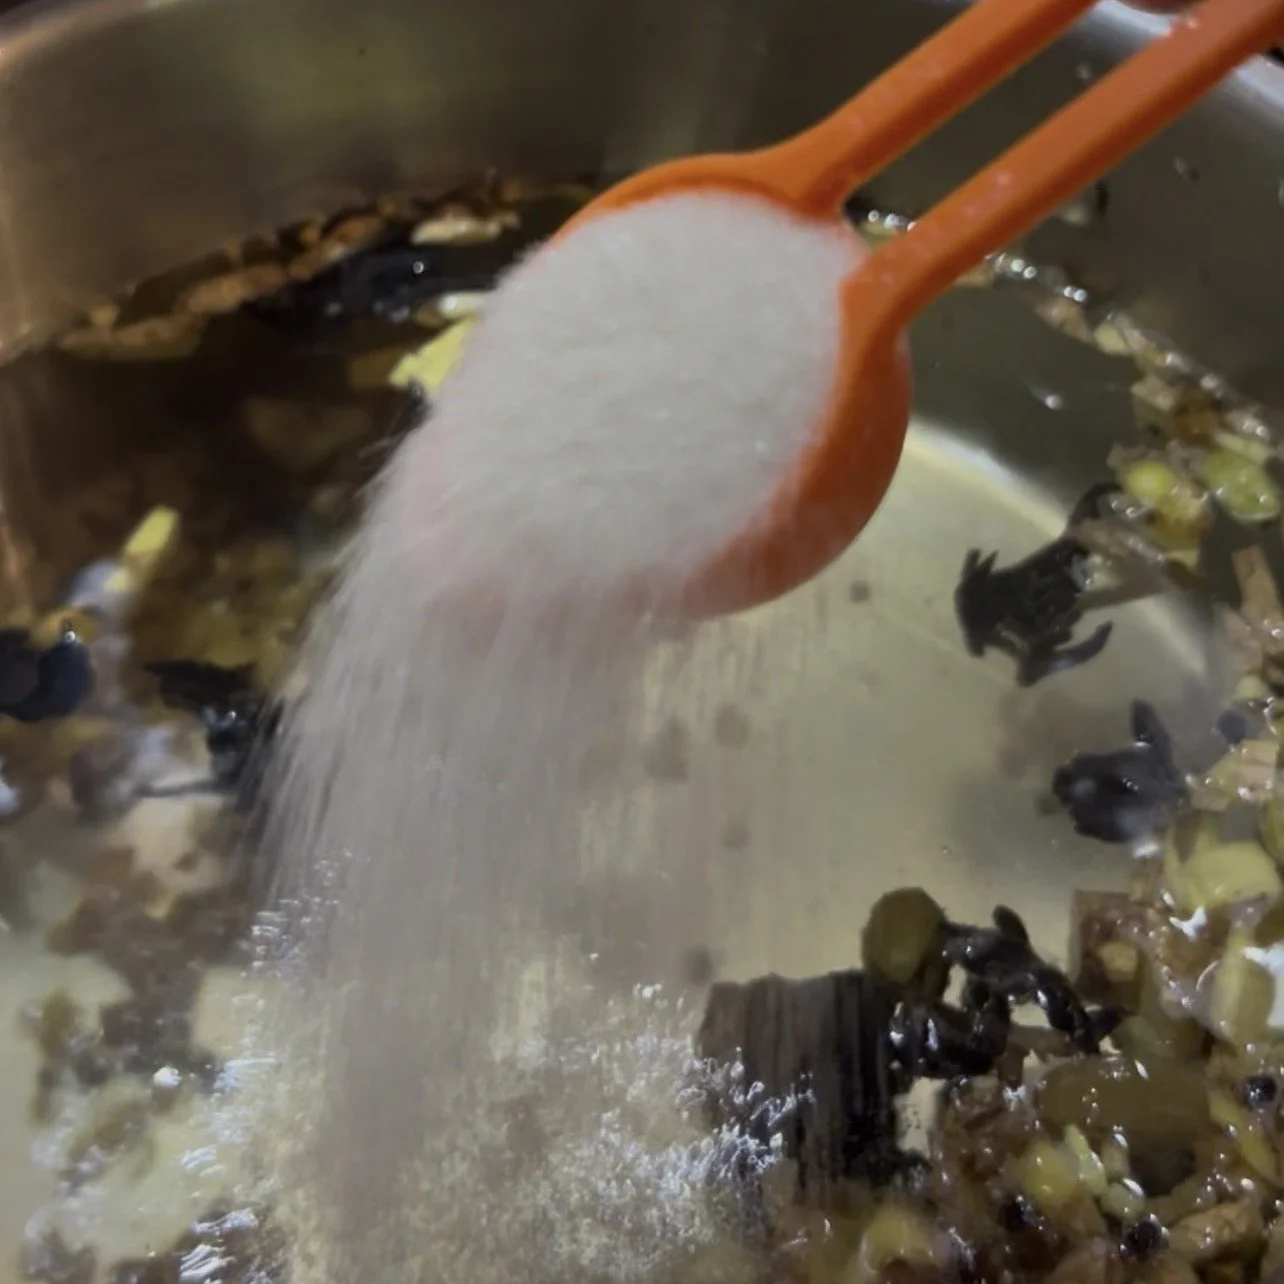
1 cup cane sugar
Directions
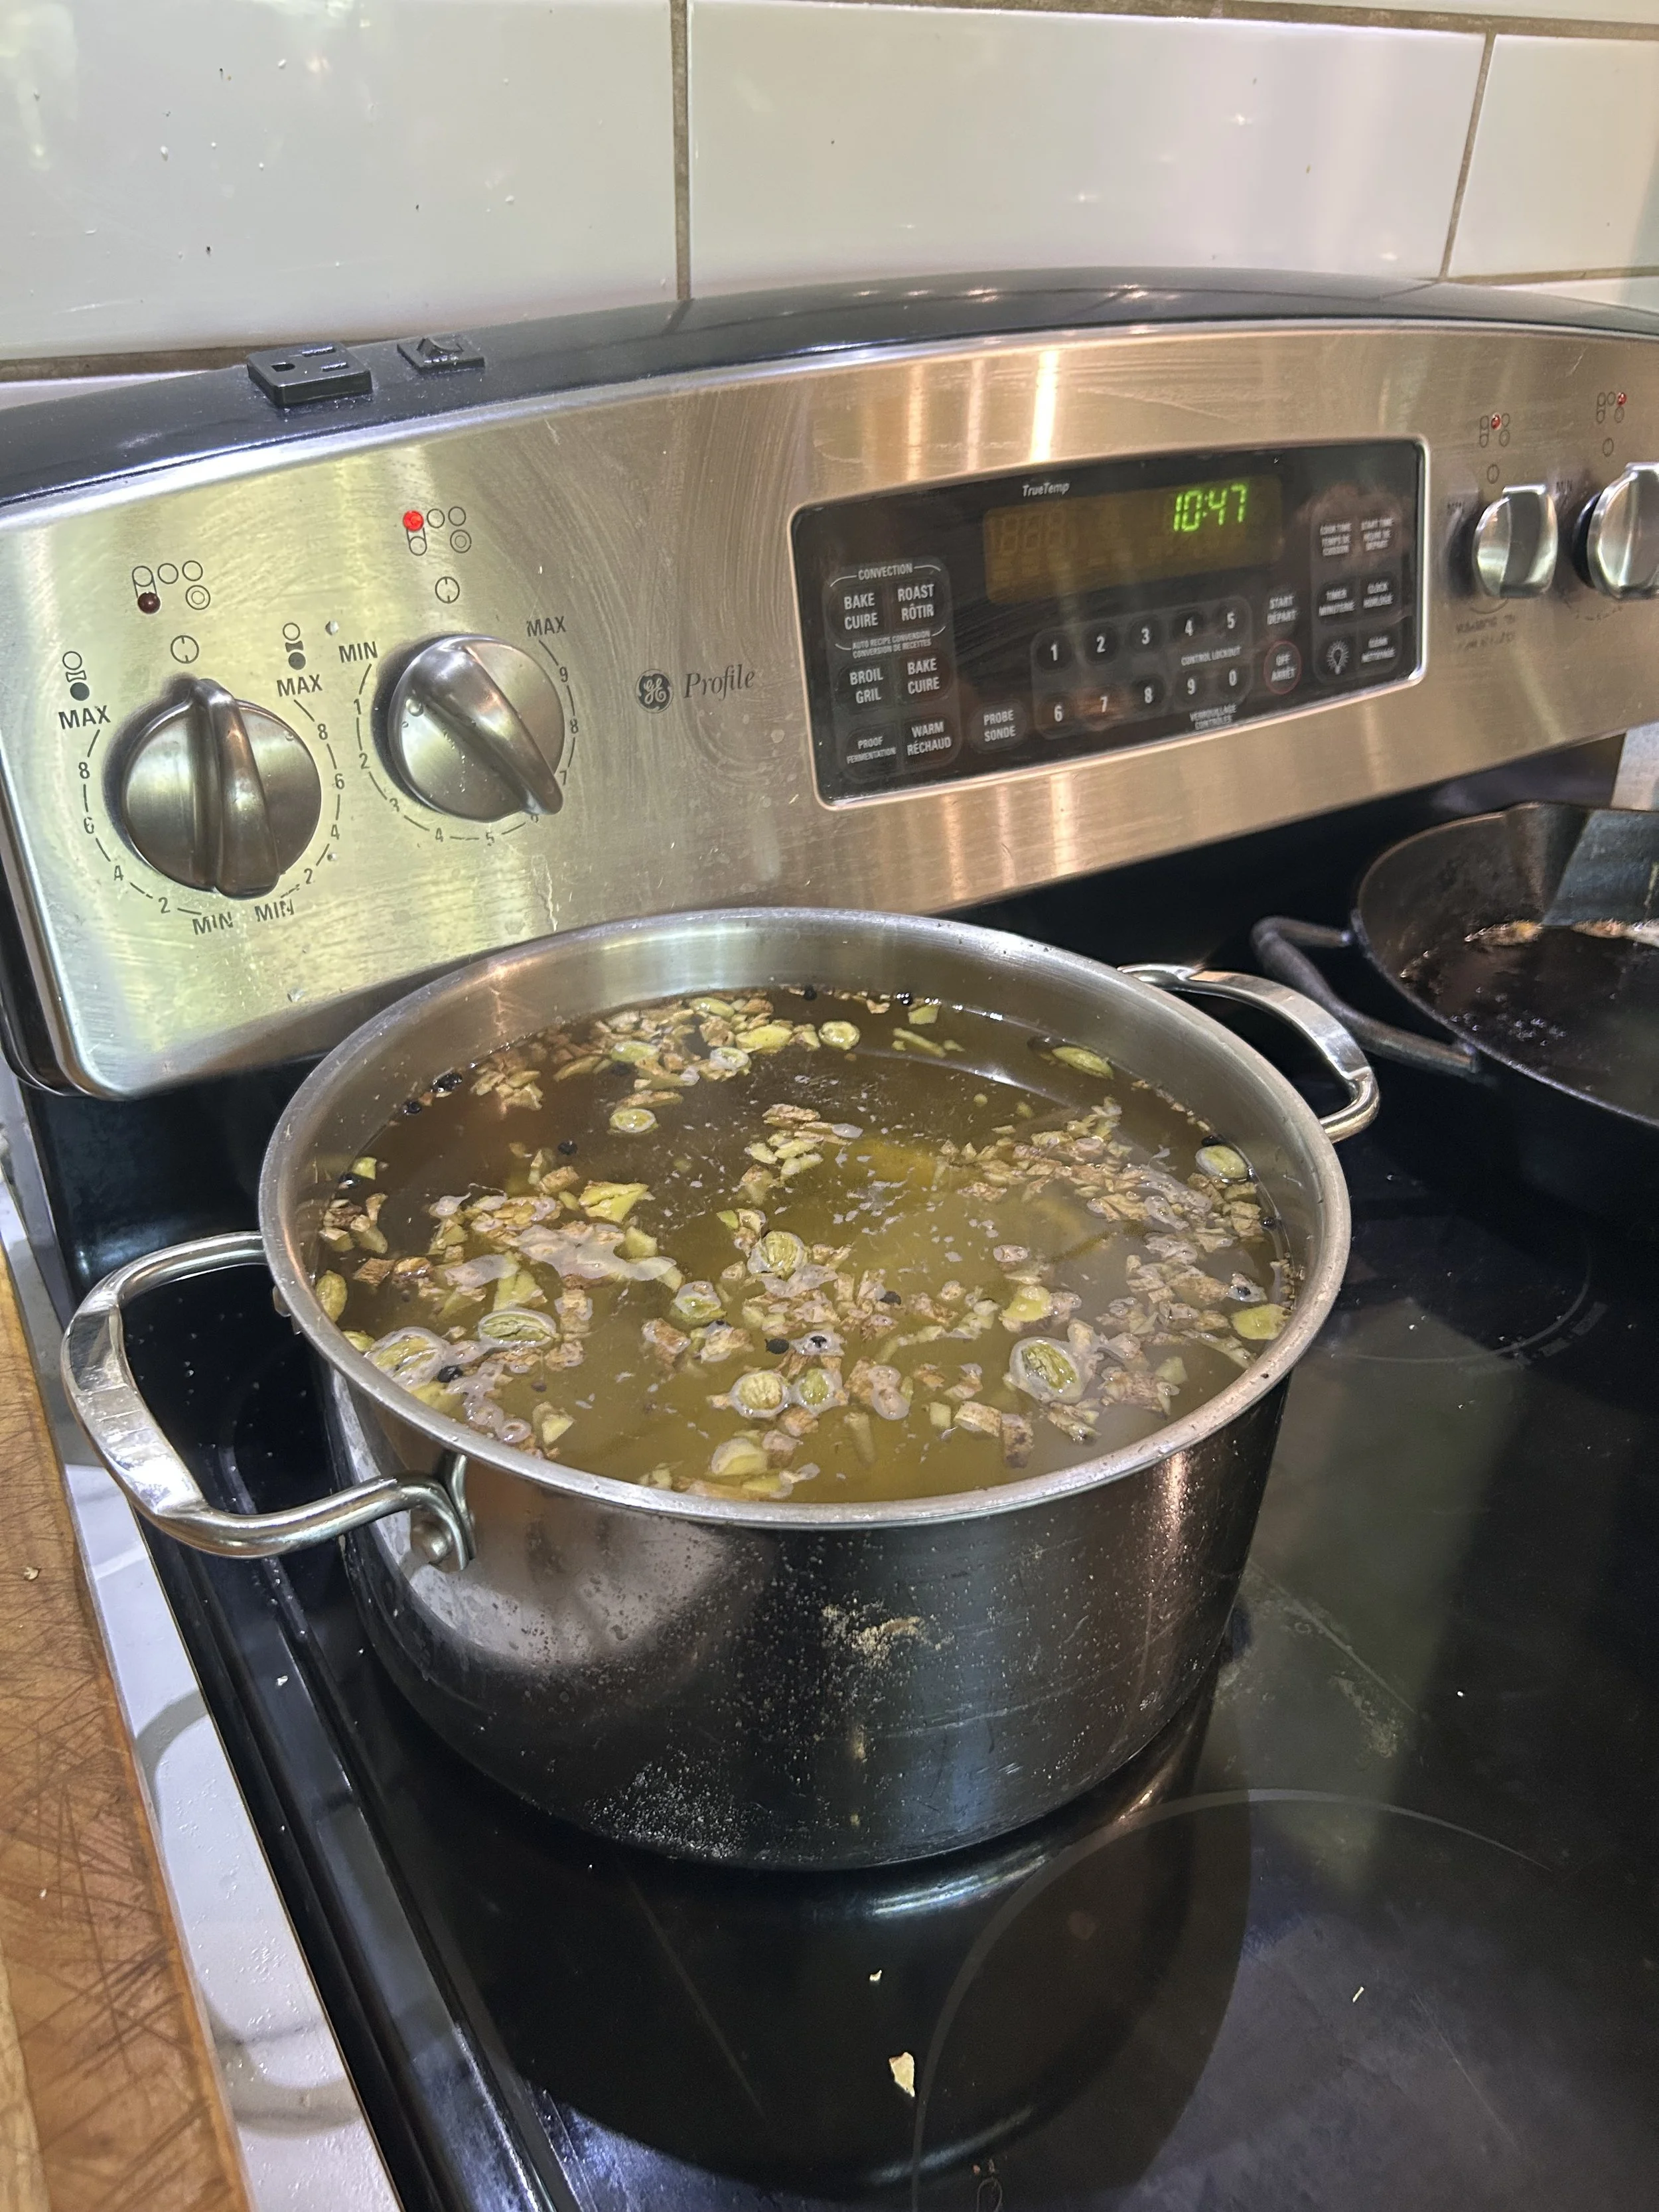
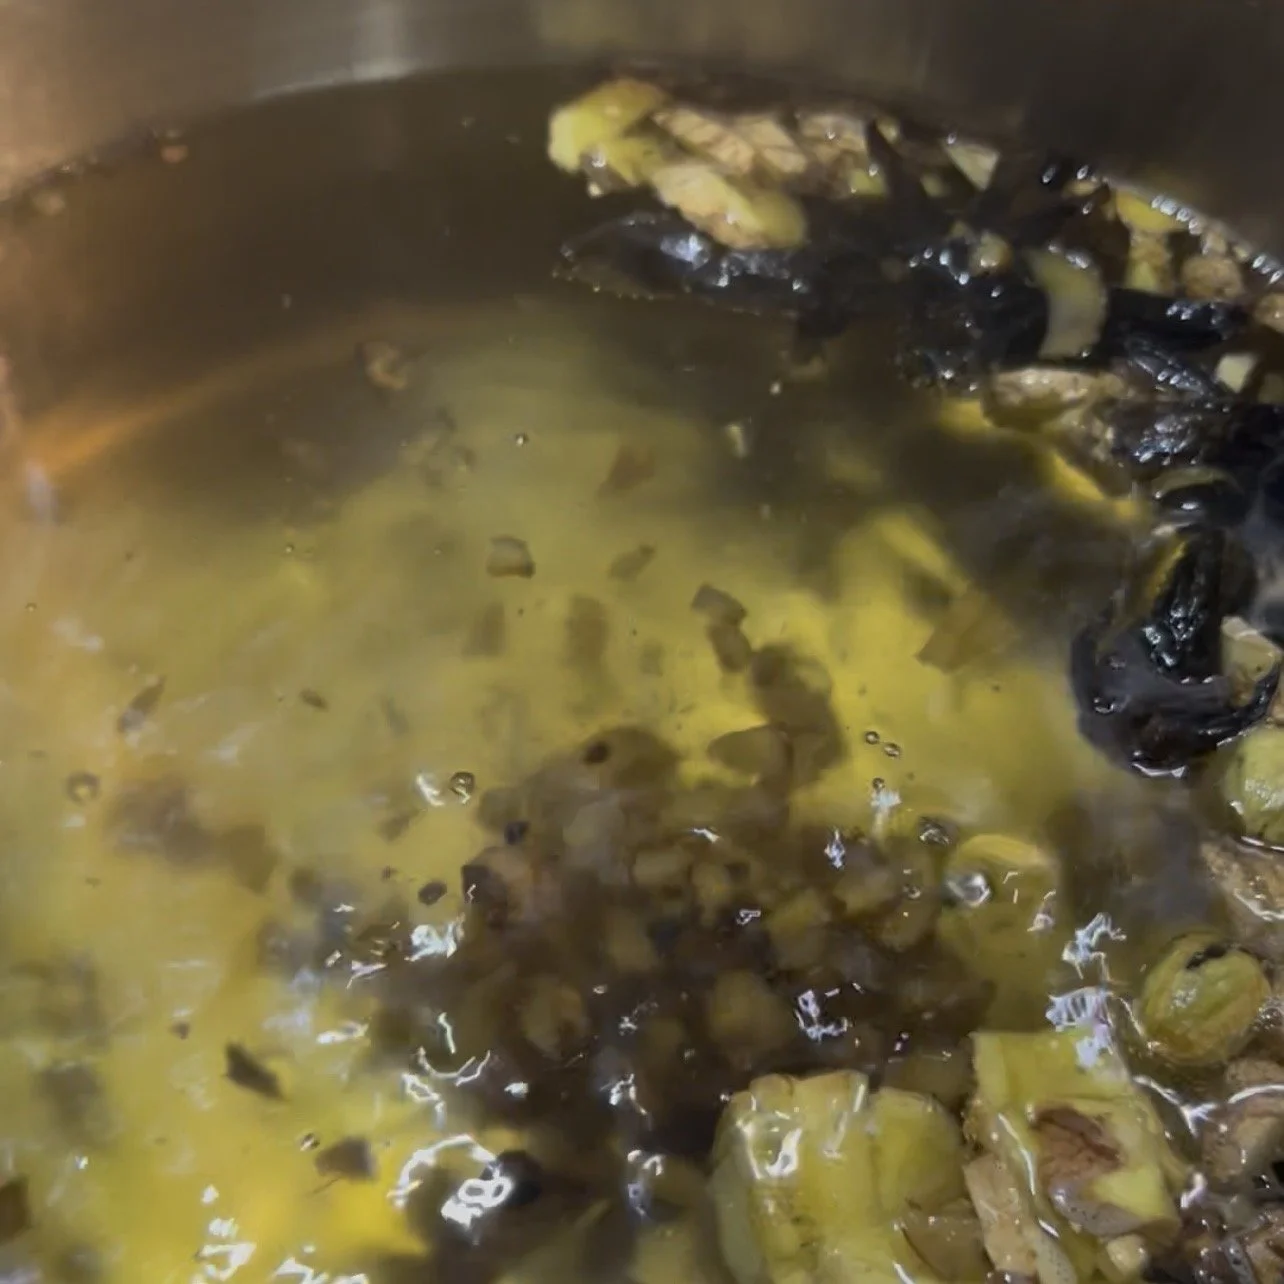
Add all ingredients to a large pot.
Bring to a gentle simmer.
Simmer on low heat for 8–24 hours.
The longer it simmers, the richer the flavour.
I often let mine simmer for several hours when I want a deeper, stronger flavour. The longer it simmers, the more concentrated the tea will become, so check the water level periodically and add more water if necessary.
Once you are happy with the flavour, remove the pot from the heat. Allow the tea to cool fully to room temperature.
Do not add the ginger bug while the tea is hot. Excessive heat can damage the living microorganisms needed for fermentation.
Once cool, strain out the ginger and spices.
Optional Additions
For warming spice blends, add during simmering:
Cinnamon sticks
Cloves
For herbs and flowers, add after turning off the heat:
Hibiscus
Mint
Rosehips
Lavender
Lemon balm
Chamomile
Step 3: Bottle & Ferment
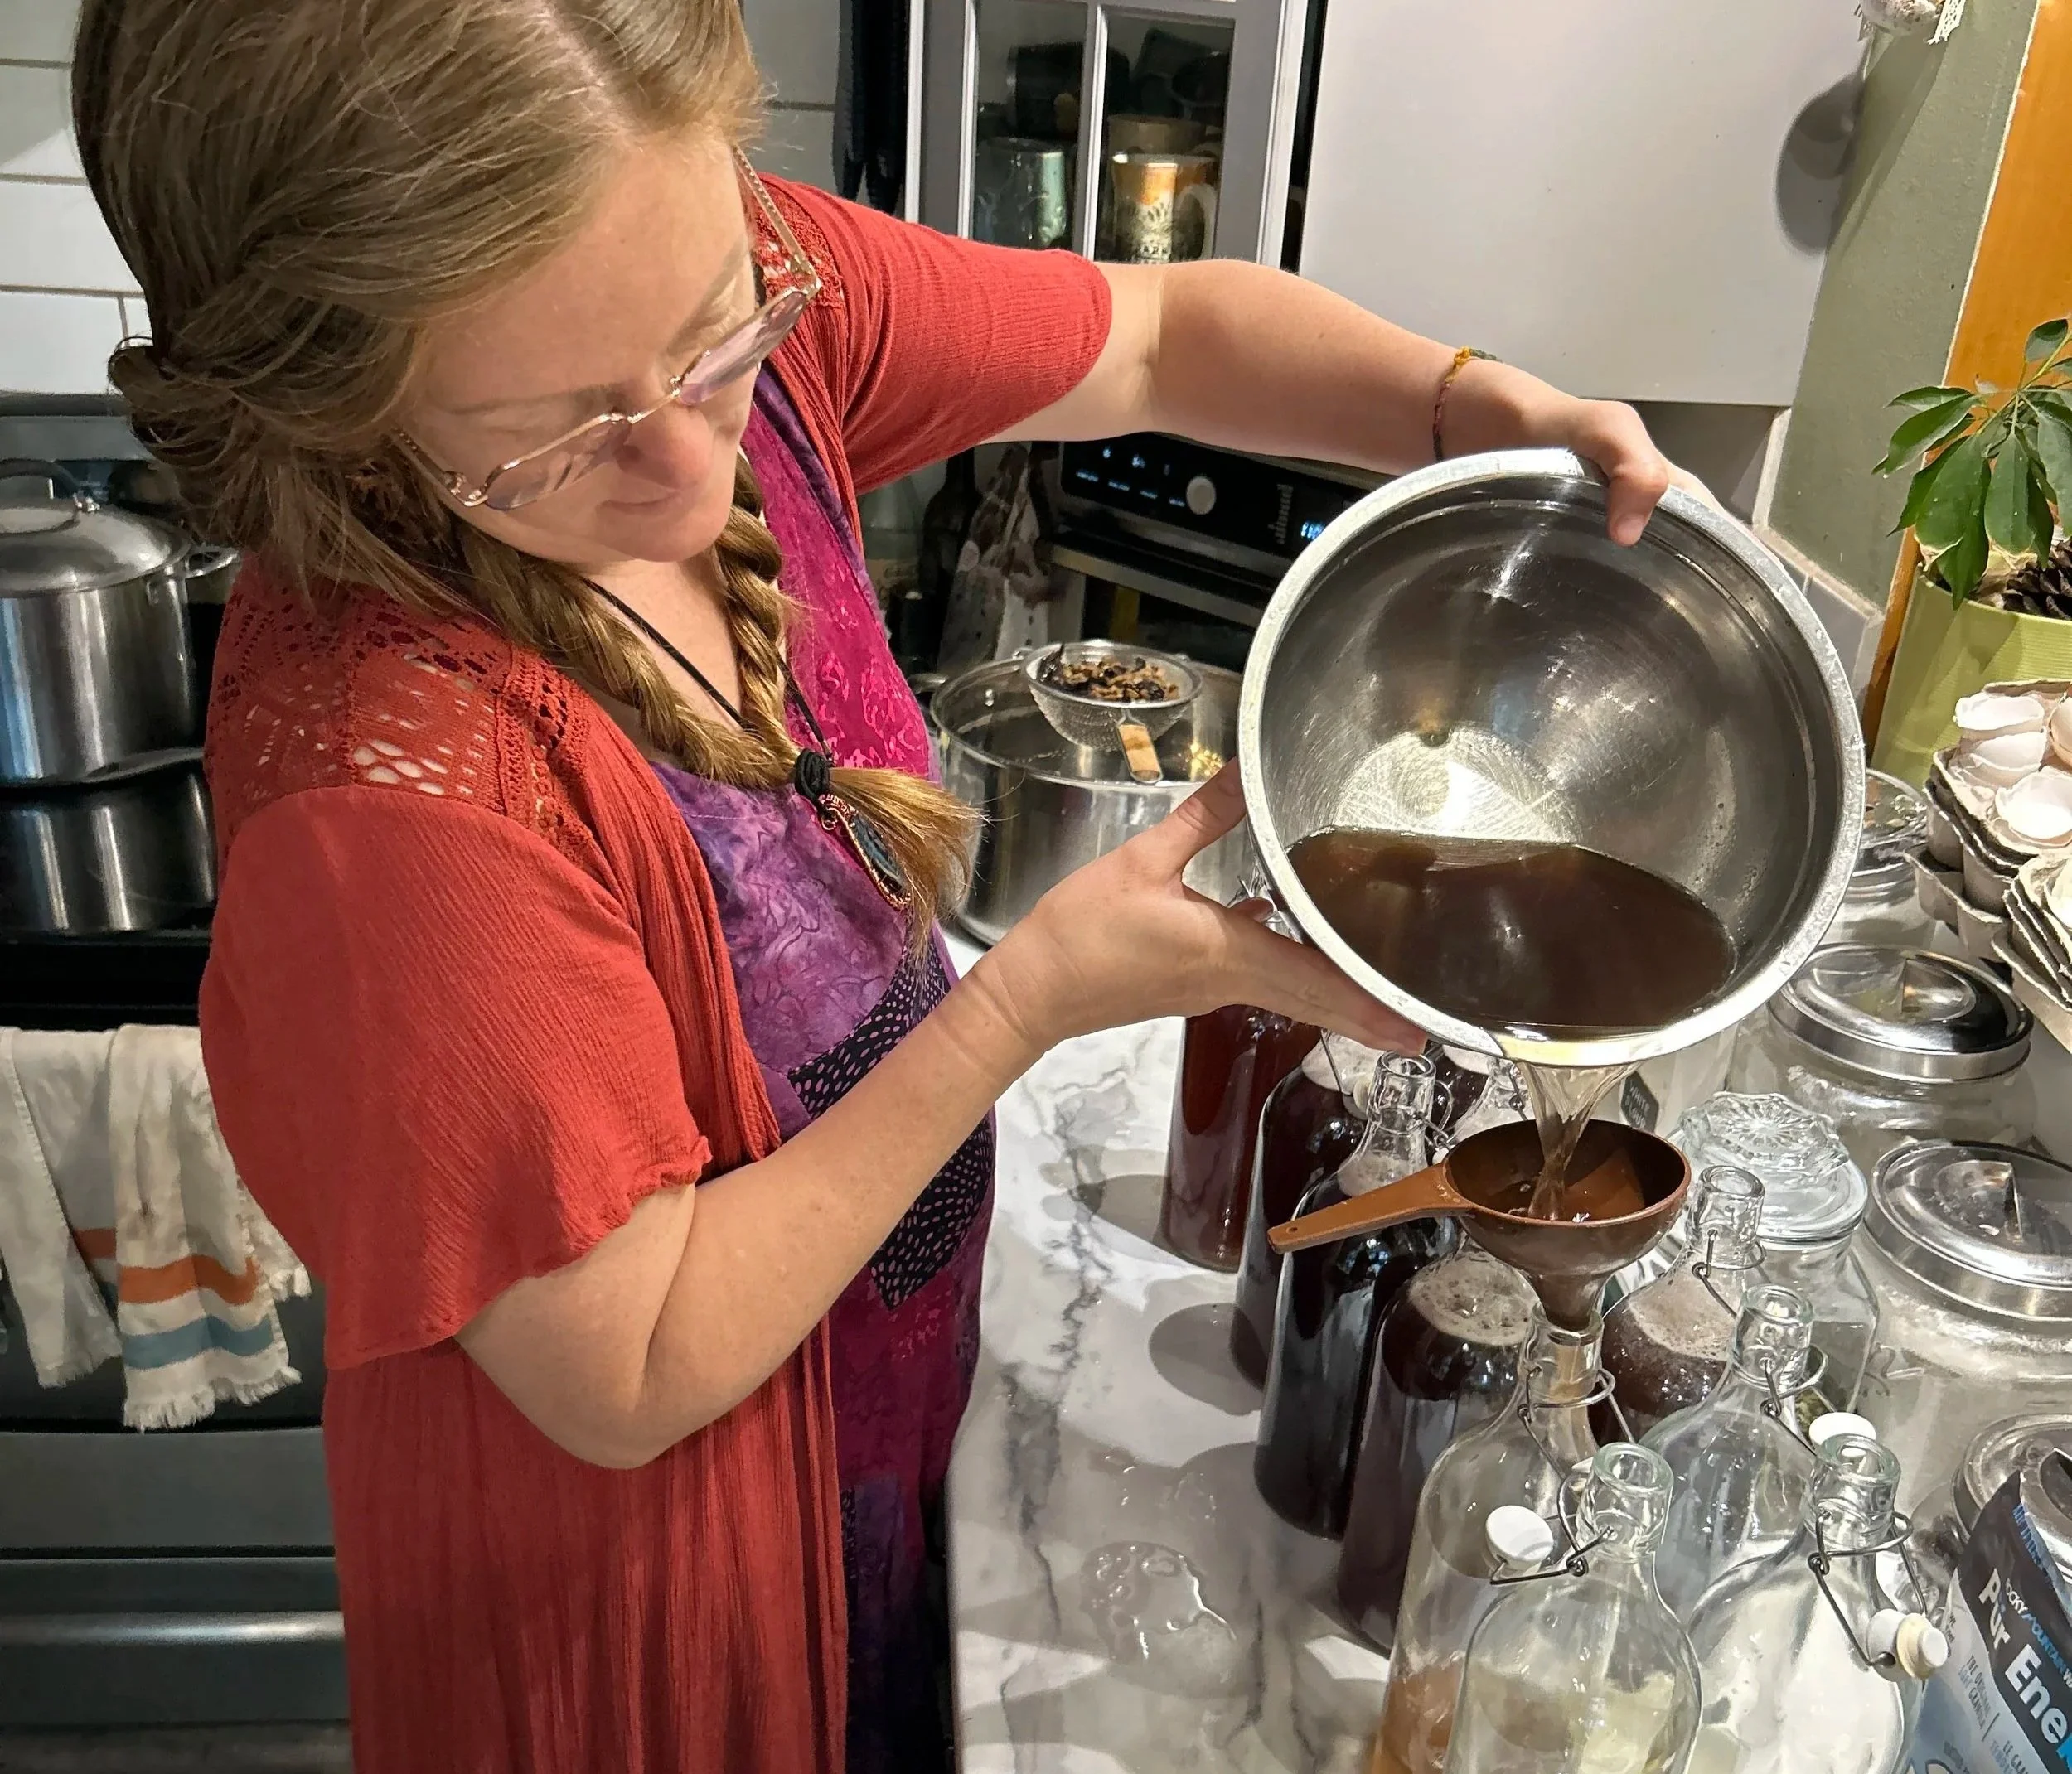
Into each 1-litre flip-top glass bottle add:
¼ cup active ginger bug
Strained ginger tea mixture
1–2 tablespoons fresh lime or lemon juice
Leave approximately 3 inches of headspace.
Seal the bottles.
Allow to ferment at room temperature for 2–4 days.
Every 12 hours, briefly open the bottles to release pressure and prevent over-carbonation.
Once the ginger ale becomes fizzy and active, transfer to the refrigerator.
This recipe typically makes about 5 litres.
Storage
Store in the refrigerator for up to 2 weeks.
The fermentation process will continue slowly even in the fridge.
If left for extended periods, the alcohol content may begin to increase.
Prefer a Printable Version?
Want to keep this recipe in your kitchen or add it to your recipe binder?
Our Favourite Seasonal Variations
One of the things I love most about this recipe is how easily it changes with the seasons. We rarely make it exactly the same way twice.
🌺 Spring & Summer: Hibiscus Ginger Ale
Our current favourite.
Hibiscus gives the ginger ale a beautiful ruby-red colour and a refreshing tartness that is perfect on a hot day. It's become our go-to summer version and is always the first bottle to disappear from the fridge.
🌿 Summer: Mint Ginger Ale
Fresh mint from the garden transforms this into an incredibly refreshing drink.
It's delicious on its own and also makes a fantastic base for homemade mojitos and other summer mocktails.
🍂 Fall: Rosehip Ginger Ale
Rosehips add a beautiful fruity flavour and pair wonderfully with ginger.
This version feels nourishing and grounding as the weather starts to cool and the leaves begin to change.
❄️ Winter: Cinnamon & Clove Ginger Ale
Our favourite winter variation.
The warming spices make the whole house smell incredible while it's simmering. It feels festive, comforting, and pairs perfectly with snowy days and cozy evenings by the fire.
Don't be afraid to experiment. Some of our best batches have come from simply using what was growing in the garden or sitting in the herb cupboard.
From Our Kitchen to Yours
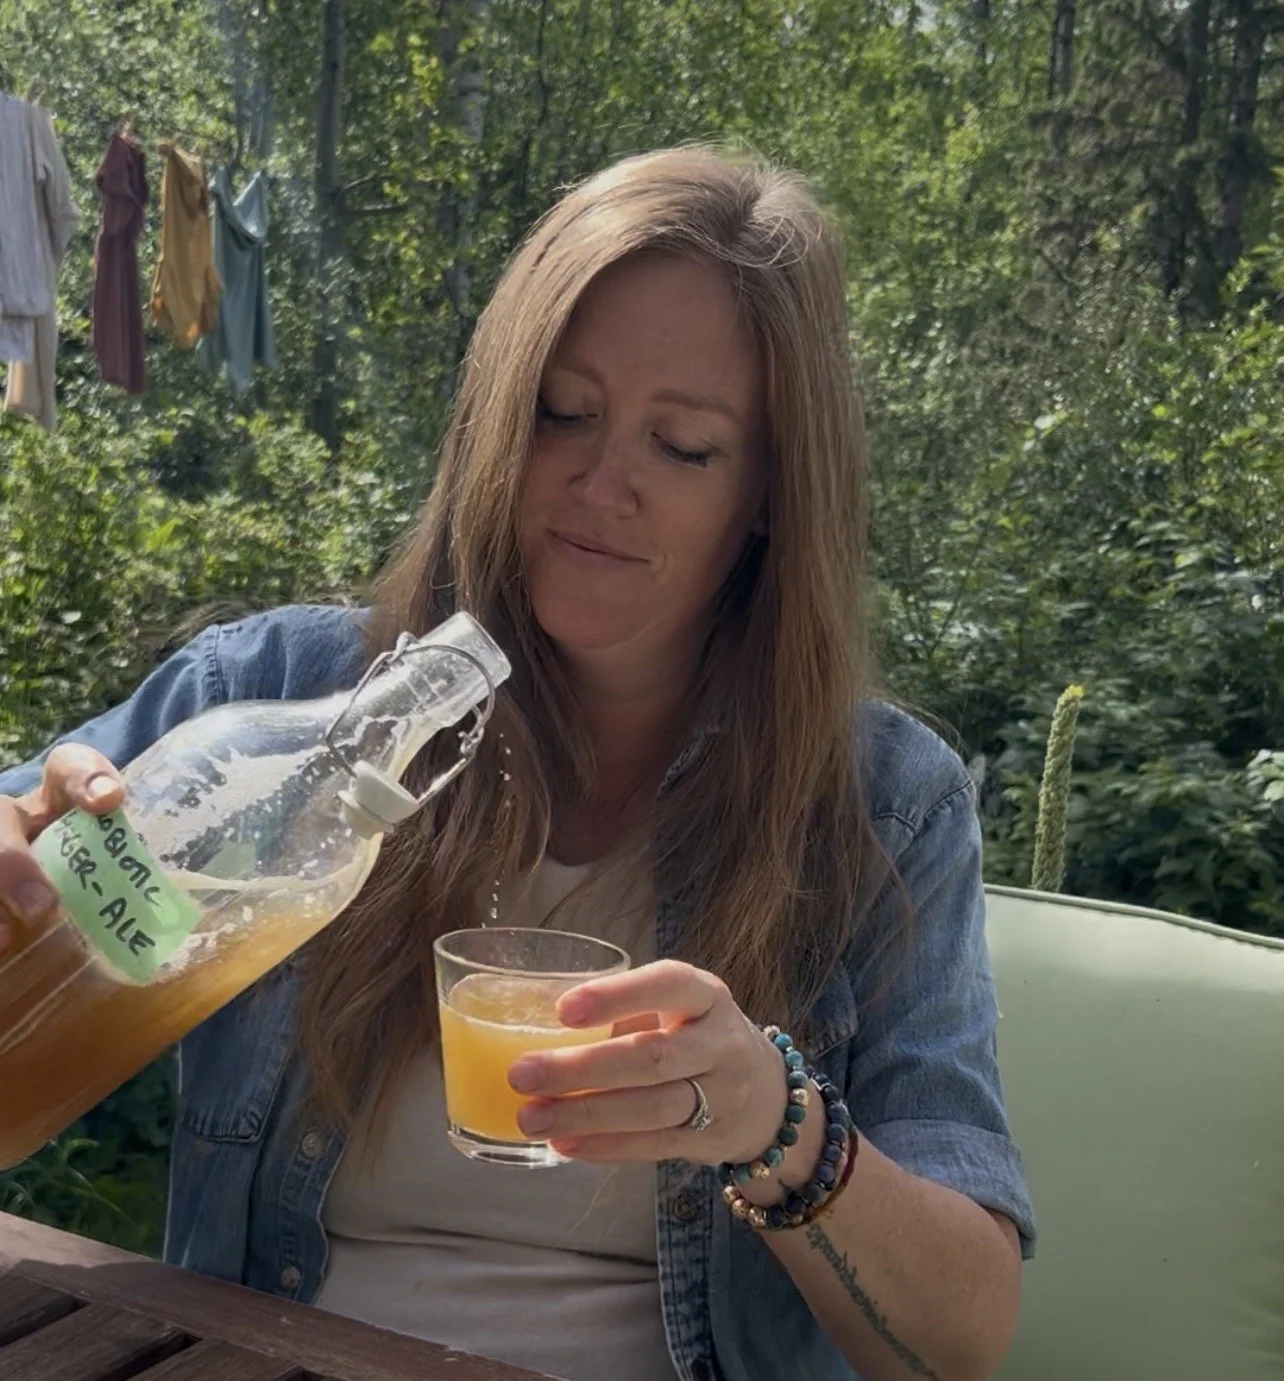
This recipe has become such a staple in our home and community that I wanted to give you a little glimpse into how we make it here at Secret Sanctuary.
I made a reel that offers a short visual look at parts of the process—from feeding the ginger bug and preparing the spiced tea to bottling and enjoying the finished drink.
It is meant to give you a feel for the process, show you what naturally fermented ginger ale can look like, and hopefully inspire you to try making a batch of your own.
And if you make a batch, send me a photo or tag Secret Sanctuary on social media. I love seeing what people create and hearing about the flavour combinations they discover.
Interested in Learning How to Make This in Person?
Did you know this is actually one of the homesteading experiences we offer here at Secret Sanctuary?
Guests can book a hands-on fermentation workshop where you'll learn how to create probiotic ginger ale from scratch, make your own active ginger bug, and bring it home with you so you can continue making probiotic ginger ale for your family right away.
There's something special about learning these skills in person—asking questions, tasting different variations, and gaining the confidence to make it yourself.
We also host Community Skill Share Gatherings throughout the year, where members of our community come together to share practical homesteading skills, recipes, gardening tips, herbal remedies, food preservation techniques, and other self-sufficiency knowledge.
One of our favourite things about these gatherings is that everyone has something to teach and something to learn.
Stay tuned for the announcement of our next Community Skill Share Gathering—we'd love to have you join us!
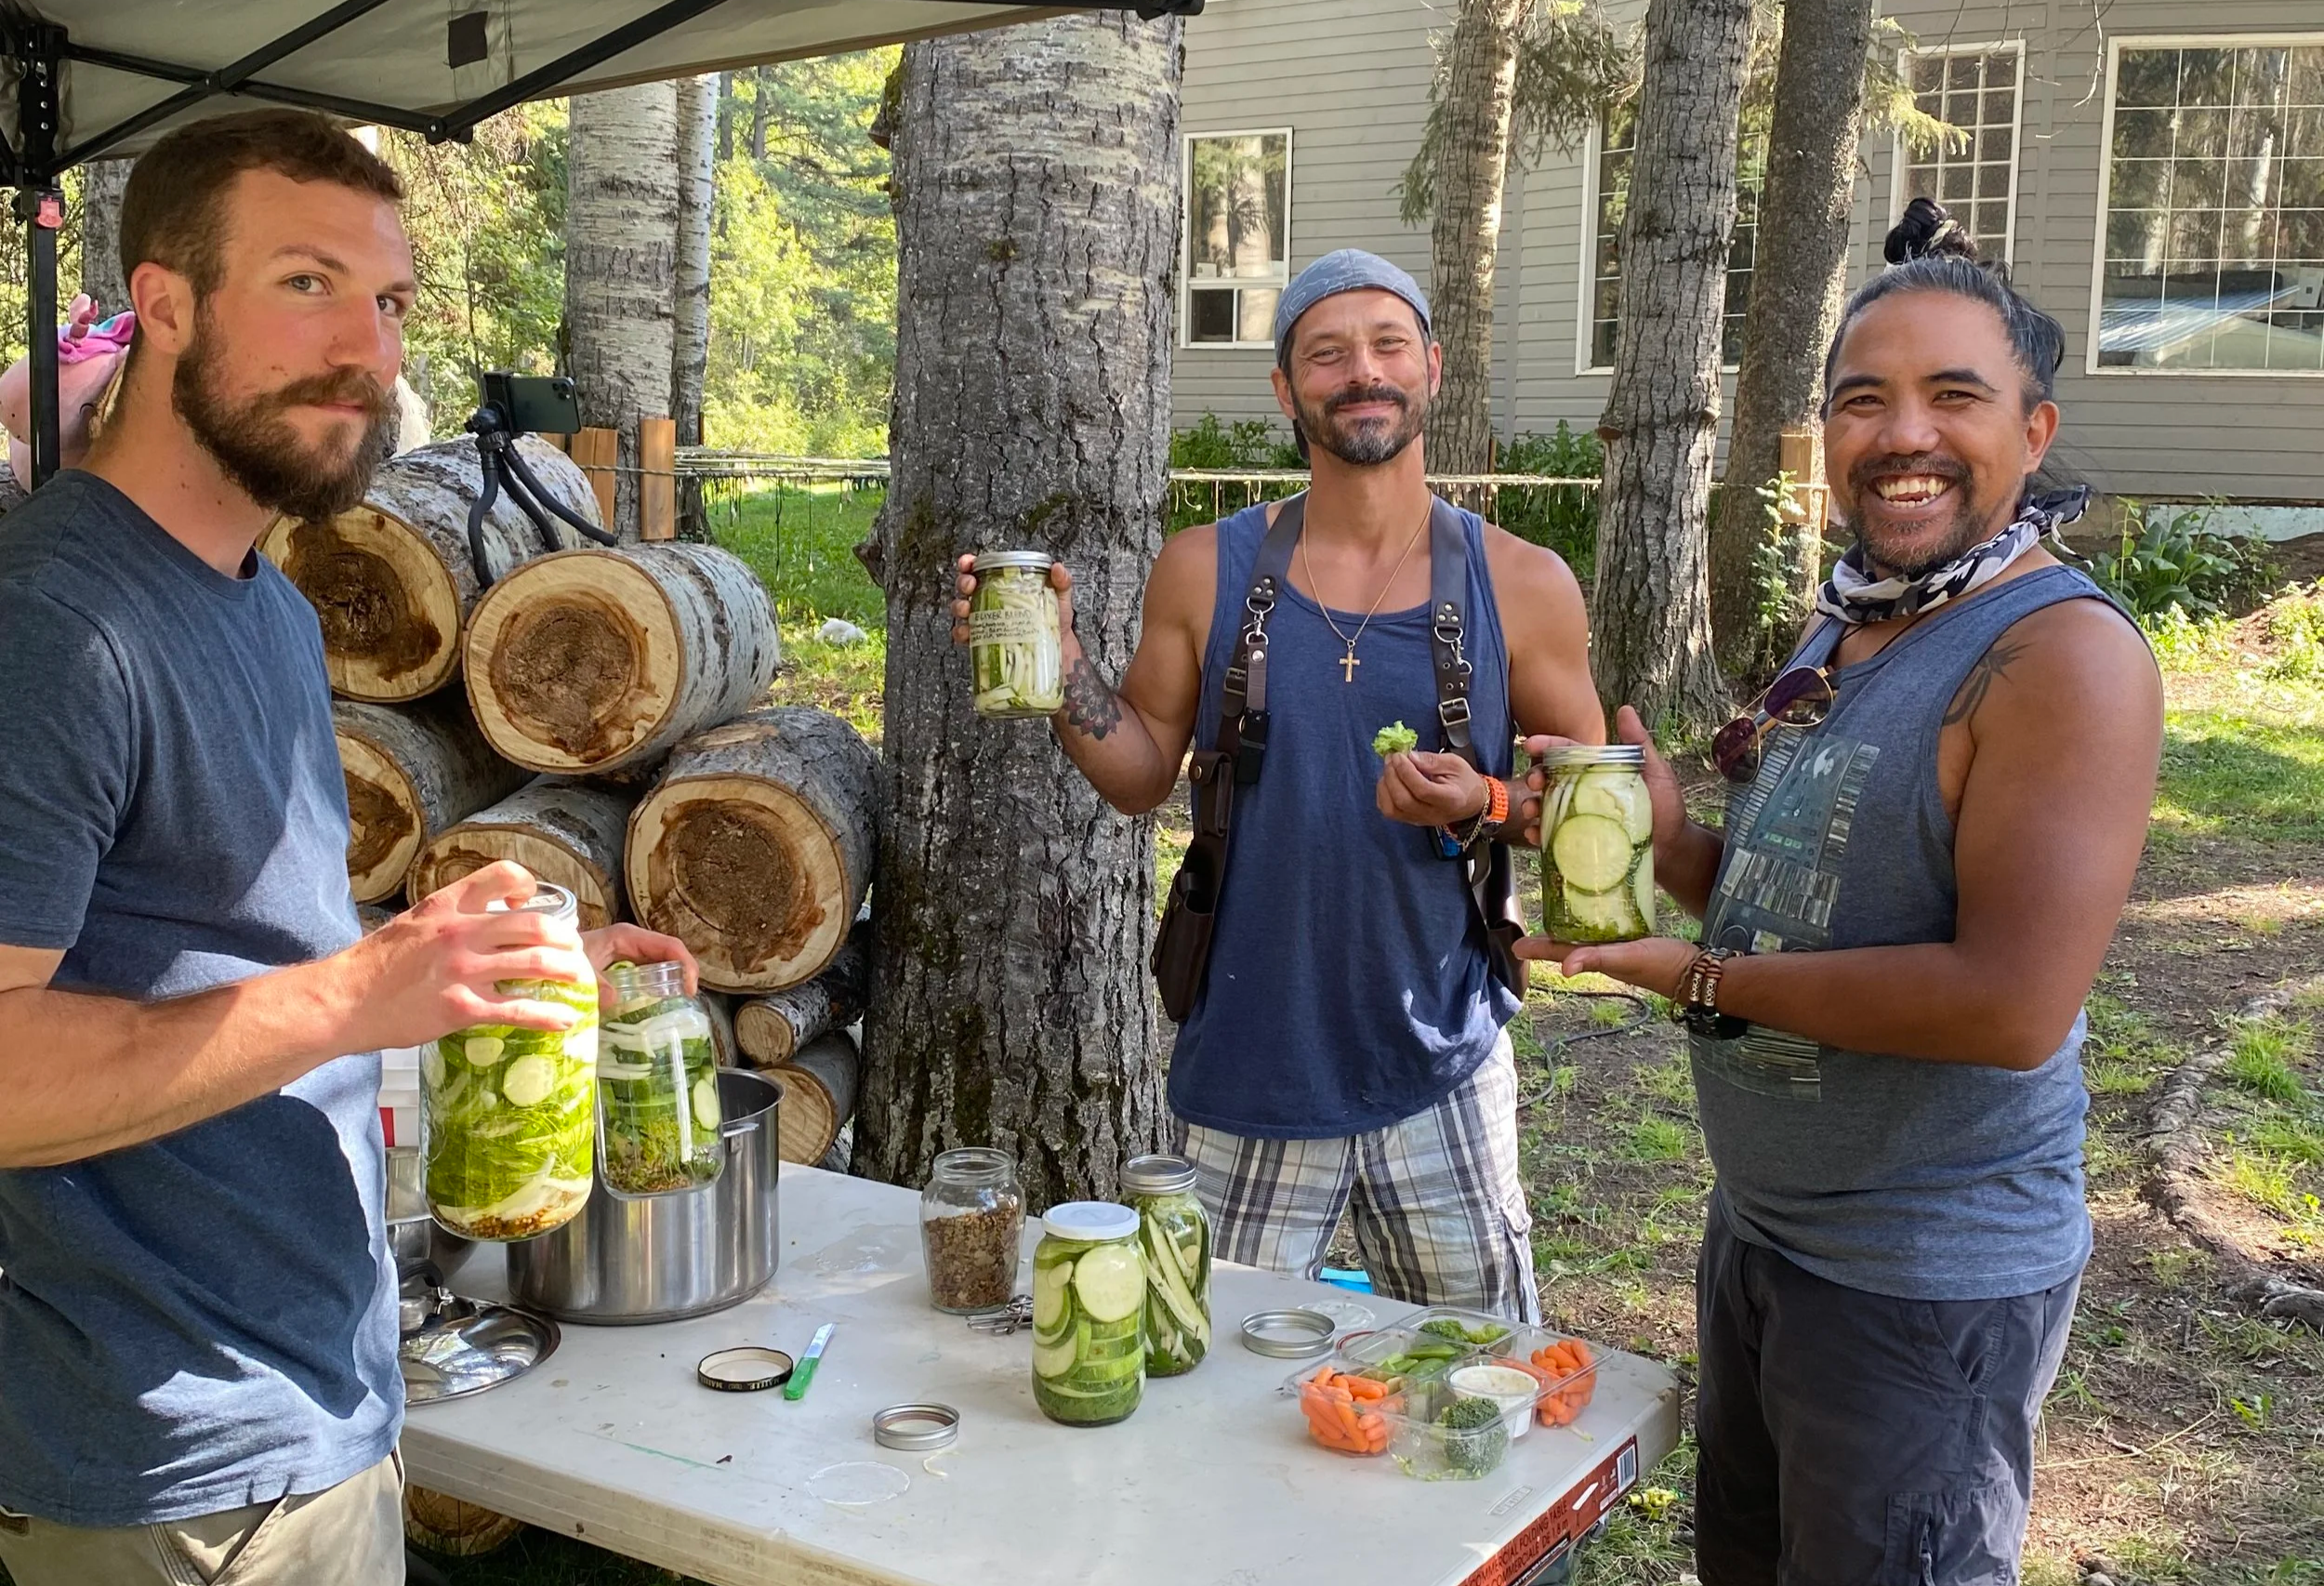
Last year's Community Skill Share, where we learned how to make fermented pickles and preserve an abundance of zucchini together.
Happy fermenting!
— Denika
Secret Sanctuary Retreat